


Once that was finished, I brought it into photoshop. I began erasing using the rectangular marquee tool, to erase large chunks of the background. I once again used the rectangular marquee tool to fill the background with a bright color, that way I could see what areas were erased and which were not.

I erased other parts using the magic wand tool, and the smaller areas were erased by simply using the mouse. I also used the adjustment layers to make my outlines stronger, and more bold. I attached it to the layer underneath it so that the background color didn't dim down. I also used a layer mask on certain adjustments.

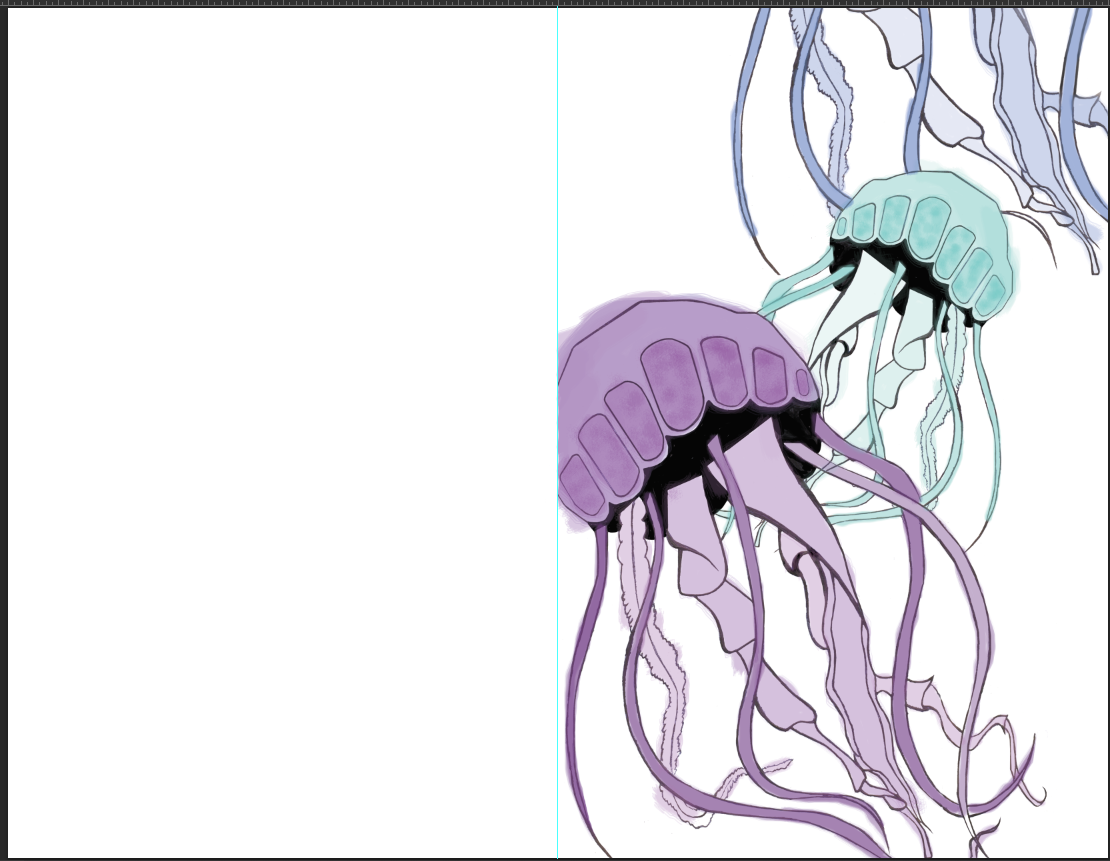
I then used burn and dodge to lighten and darken areas (more specifically in the jellyfish design). I needed the lines to be very dark and sometimes I gave highlights. I then opened it in a new file, with a line dividing it evenly so that the front would be the front and images wouldn't run over. On the jellyfish card, I copied the image into a new layer, scaled it down and flipped it horizontally so it faced the opposite direction. I then used the clone stamp tool on the jellyfish closest to the picture plane to add one more fish.

I then colored them in purely in photoshop. I used a watercolor brush stroke to add a hand drawn look.
I then took off the layer that had the outline on it, leaving just the brush strokes. I added a quick pickup line and saved it as the inside of the card.

No comments:
Post a Comment